
Installing a solar photovoltaic (PV) system is a complex undertaking that requires meticulous planning and execution, particularly for those considering a DIY approach. Even if you are inclined towards self-installation, thorough preparation is essential. To facilitate a seamless process, we have developed a detailed, technical guide outlining the step-by-step procedures for solar panel installation. Below, you will find professional insights to empower your transition to renewable energy.

Planning Phase
Adequate preparation is critical to ensuring an efficient and compliant solar PV installation. The planning phase consists of the following five steps:
- Conduct a Site Assessment
Not all properties are suitable for solar installation. Older homes may have outdated electrical systems, structural weaknesses, or roofing issues that must be addressed prior to installation. Engage a licensed electrical contractor or structural engineer to perform a comprehensive site evaluation. Licensing requirements vary by state, so verify credentials accordingly. The assessment may include recommendations for electrical upgrades, roof repairs, structural reinforcements, and optimal panel placement and mounting types. - Secure Required Permits and Approvals: Before procuring components, ensure all necessary permits are secured to avoid compliance issues. The permitting process typically involves:
- Local electrical and building permits
- Interconnection agreement with the utility provider
- Applications for federal, state, or local incentives (e.g., ITC, rebates)
*Experienced solar installers can often manage permit applications on your behalf. Due to potential delays, maintain regular communication to track progress.
- Select and Procure System Components
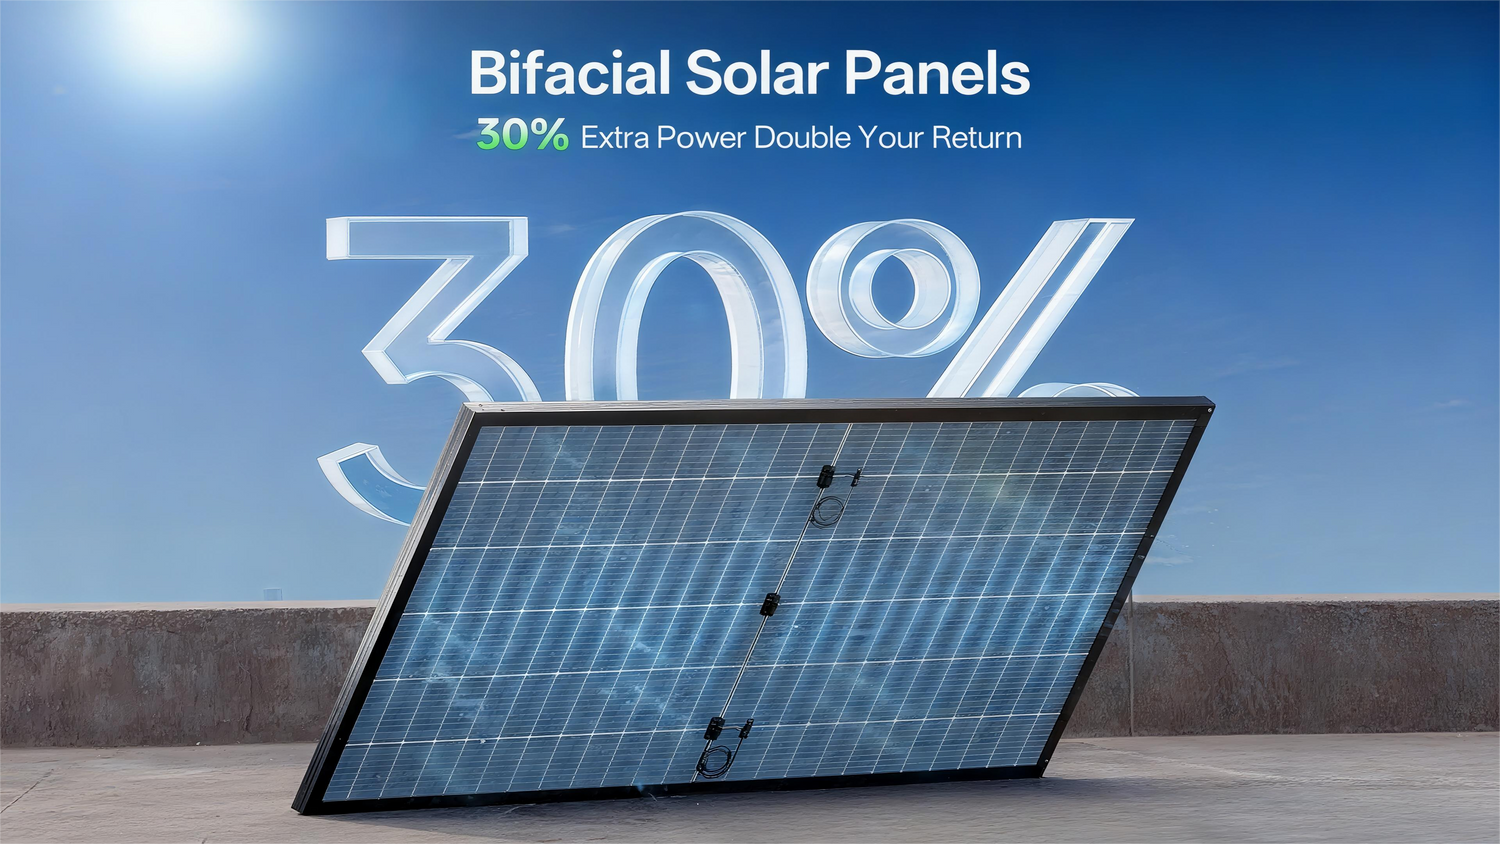
System configuration varies based on application (grid-tied, off-grid, or hybrid). Core components include:- Solar panels (monocrystalline, polycrystalline, or thin-film)
- Inverter(s) (string, microinverter, or hybrid)
- Mounting system (rooftop or ground-mount)
- Energy storage system (battery and charge controller, if applicable)
- Wiring, conduits, combiner boxes, and overcurrent protection
*Panel and inverter selection should be based on efficiency, temperature coefficients, shading conditions, and future expandability. For specialized applications (e.g., RV or marine systems), additional components such as charge controllers, battery isolators, and shore power interfaces may be required.
- Develop a Wiring Diagram
A pre-determined wiring plan minimizes errors and simplifies installation. Key considerations:- Series vs. Parallel Wiring:
- Series: Increases voltage, suitable for unshaded conditions. Requires compatible string inverters.
- Parallel: Increases current, ideal for partially shaded arrays. Requires larger gauge wiring and fusing.
- Series vs. Parallel Wiring:
*System Wiring Paths:
- Grid-Tied (Central Inverter): PV strings → junction box → inverter → AC disconnect → main service panel
- Microinverter Systems: Per-panel microinverters → junction box → main panel
- Off-Grid: PV array → combiner box → charge controller → battery bank → inverter → load center
- Implement Safety Protocols
DIY solar installation involves electrical, structural, and physical risks. Adhere to the following:- Personal Protective Equipment (PPE): Insulated gloves, safety glasses, long sleeves, non-conductive footwear, and harness systems for rooftop work.
- Electrical Safety: De-energize all circuits during connection. Avoid jewelry and metal accessories.
- Structural Precautions: Use roof anchors and fall protection. Avoid working in adverse weather.
- Heavy Lifting: Use mechanical hoists or team lifting for panels (~40 lbs each). Lift with legs, not back.

Installation Phase
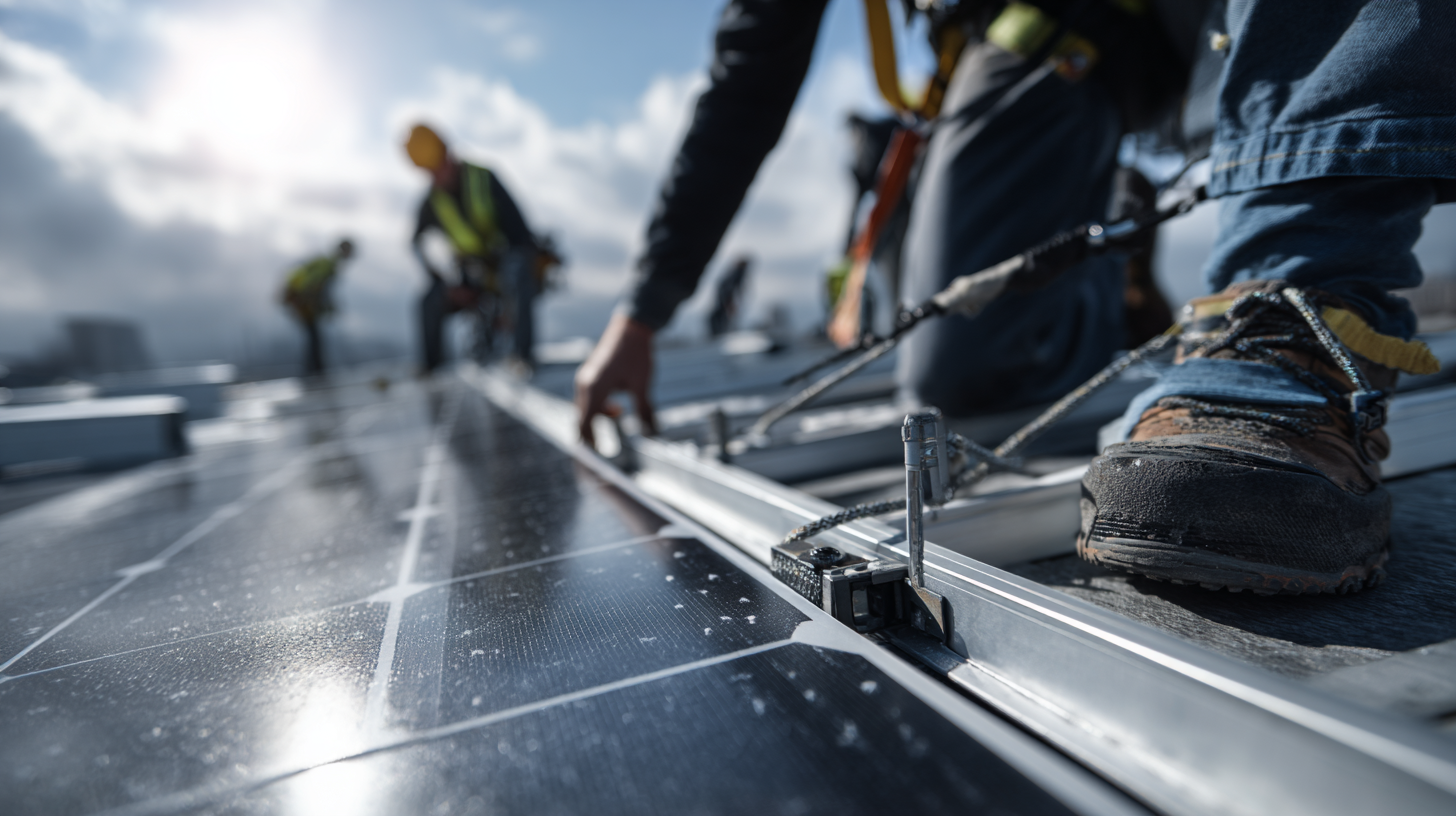
- Install Mounting System: The mounting system must be structurally sound and correctly aligned.
- Rooftop Mounting:
- Locate and mark rafters using a stud finder.
- Install flashings (L-feet) according to panel layout and rail spacing.
- Roof-specific considerations:
- Asphalt Shingles: Lift shingles, seal flashings, and re-nail.
- Metal Roofs: Use clamps compatible with seam or corrugated profiles.
- Tile Roofs: Employ tile hooks or replacement tiles for flashing integration.
- Flat Roofs: Ballasted systems may avoid penetration but require ballast calculations.
- Ground Mounting:
- Set posts in concrete footings below frost line. Verify soil and zoning requirements.
- Ensure rails are level and aligned with pre-drilled panel holes.
- Rooftop Mounting:
- Mount Solar Panel: Lift panels using a ladder lift or hoist. Secure panels to rails with provided clamps or bolts. Follow torque specifications from the racking manufacturer.
- Execute Wiring Plan: Run wiring according to pre-designed diagrams:
- Use conduit and weatherproof enclosures for outdoor runs.
- Maintain NEC compliance for wire sizing, grounding, and overcurrent protection.
- Minimize wire exposure and ensure strain relief.
- Install Inverter and Battery
- Inverter Location: Mount centrally near the main panel (for string inverters) or at each panel (for microinverters). Ensure adequate ventilation.
- Battery Installation: Place batteries in a well-ventilated, temperature-controlled environment. Connect using equal-length cables between batteries and to the inverter.
*Safety: Install fused disconnects between components. Avoid short circuits during battery wiring.
- Connect Components
- String inverters: Connect PV input terminals to junction box outputs.
- Microinverters: Plug into panel connectors and daisy-chain AC outputs.
- Battery-based systems: Connect charge controller to battery bank, and battery to inverter.
- Commissioning and Grid Interconnection
- Schedule inspections from local building/electrical authorities.
- Obtain Permission to Operate (PTO) from utility before energizing the system.
- Perform system checks: voltage, current, insulation resistance, and grounding.

This guide provides a technical overview for those undertaking a solar PV installation. For optimal safety and performance, consult with licensed professionals throughout the process.