Key Points for DIY Solar Panel Installation on RVs
DIY Installation Starts with Planning
Before installing anything, you need a clear plan. Many DIY projects fail not because the panel is wrong, but because the system was not designed properly from the beginning.
Start by asking:
1. How much power do I need?
2. Where will the panel be mounted?
3. How will the cables enter the vehicle?
4. Where will the battery and controller go?
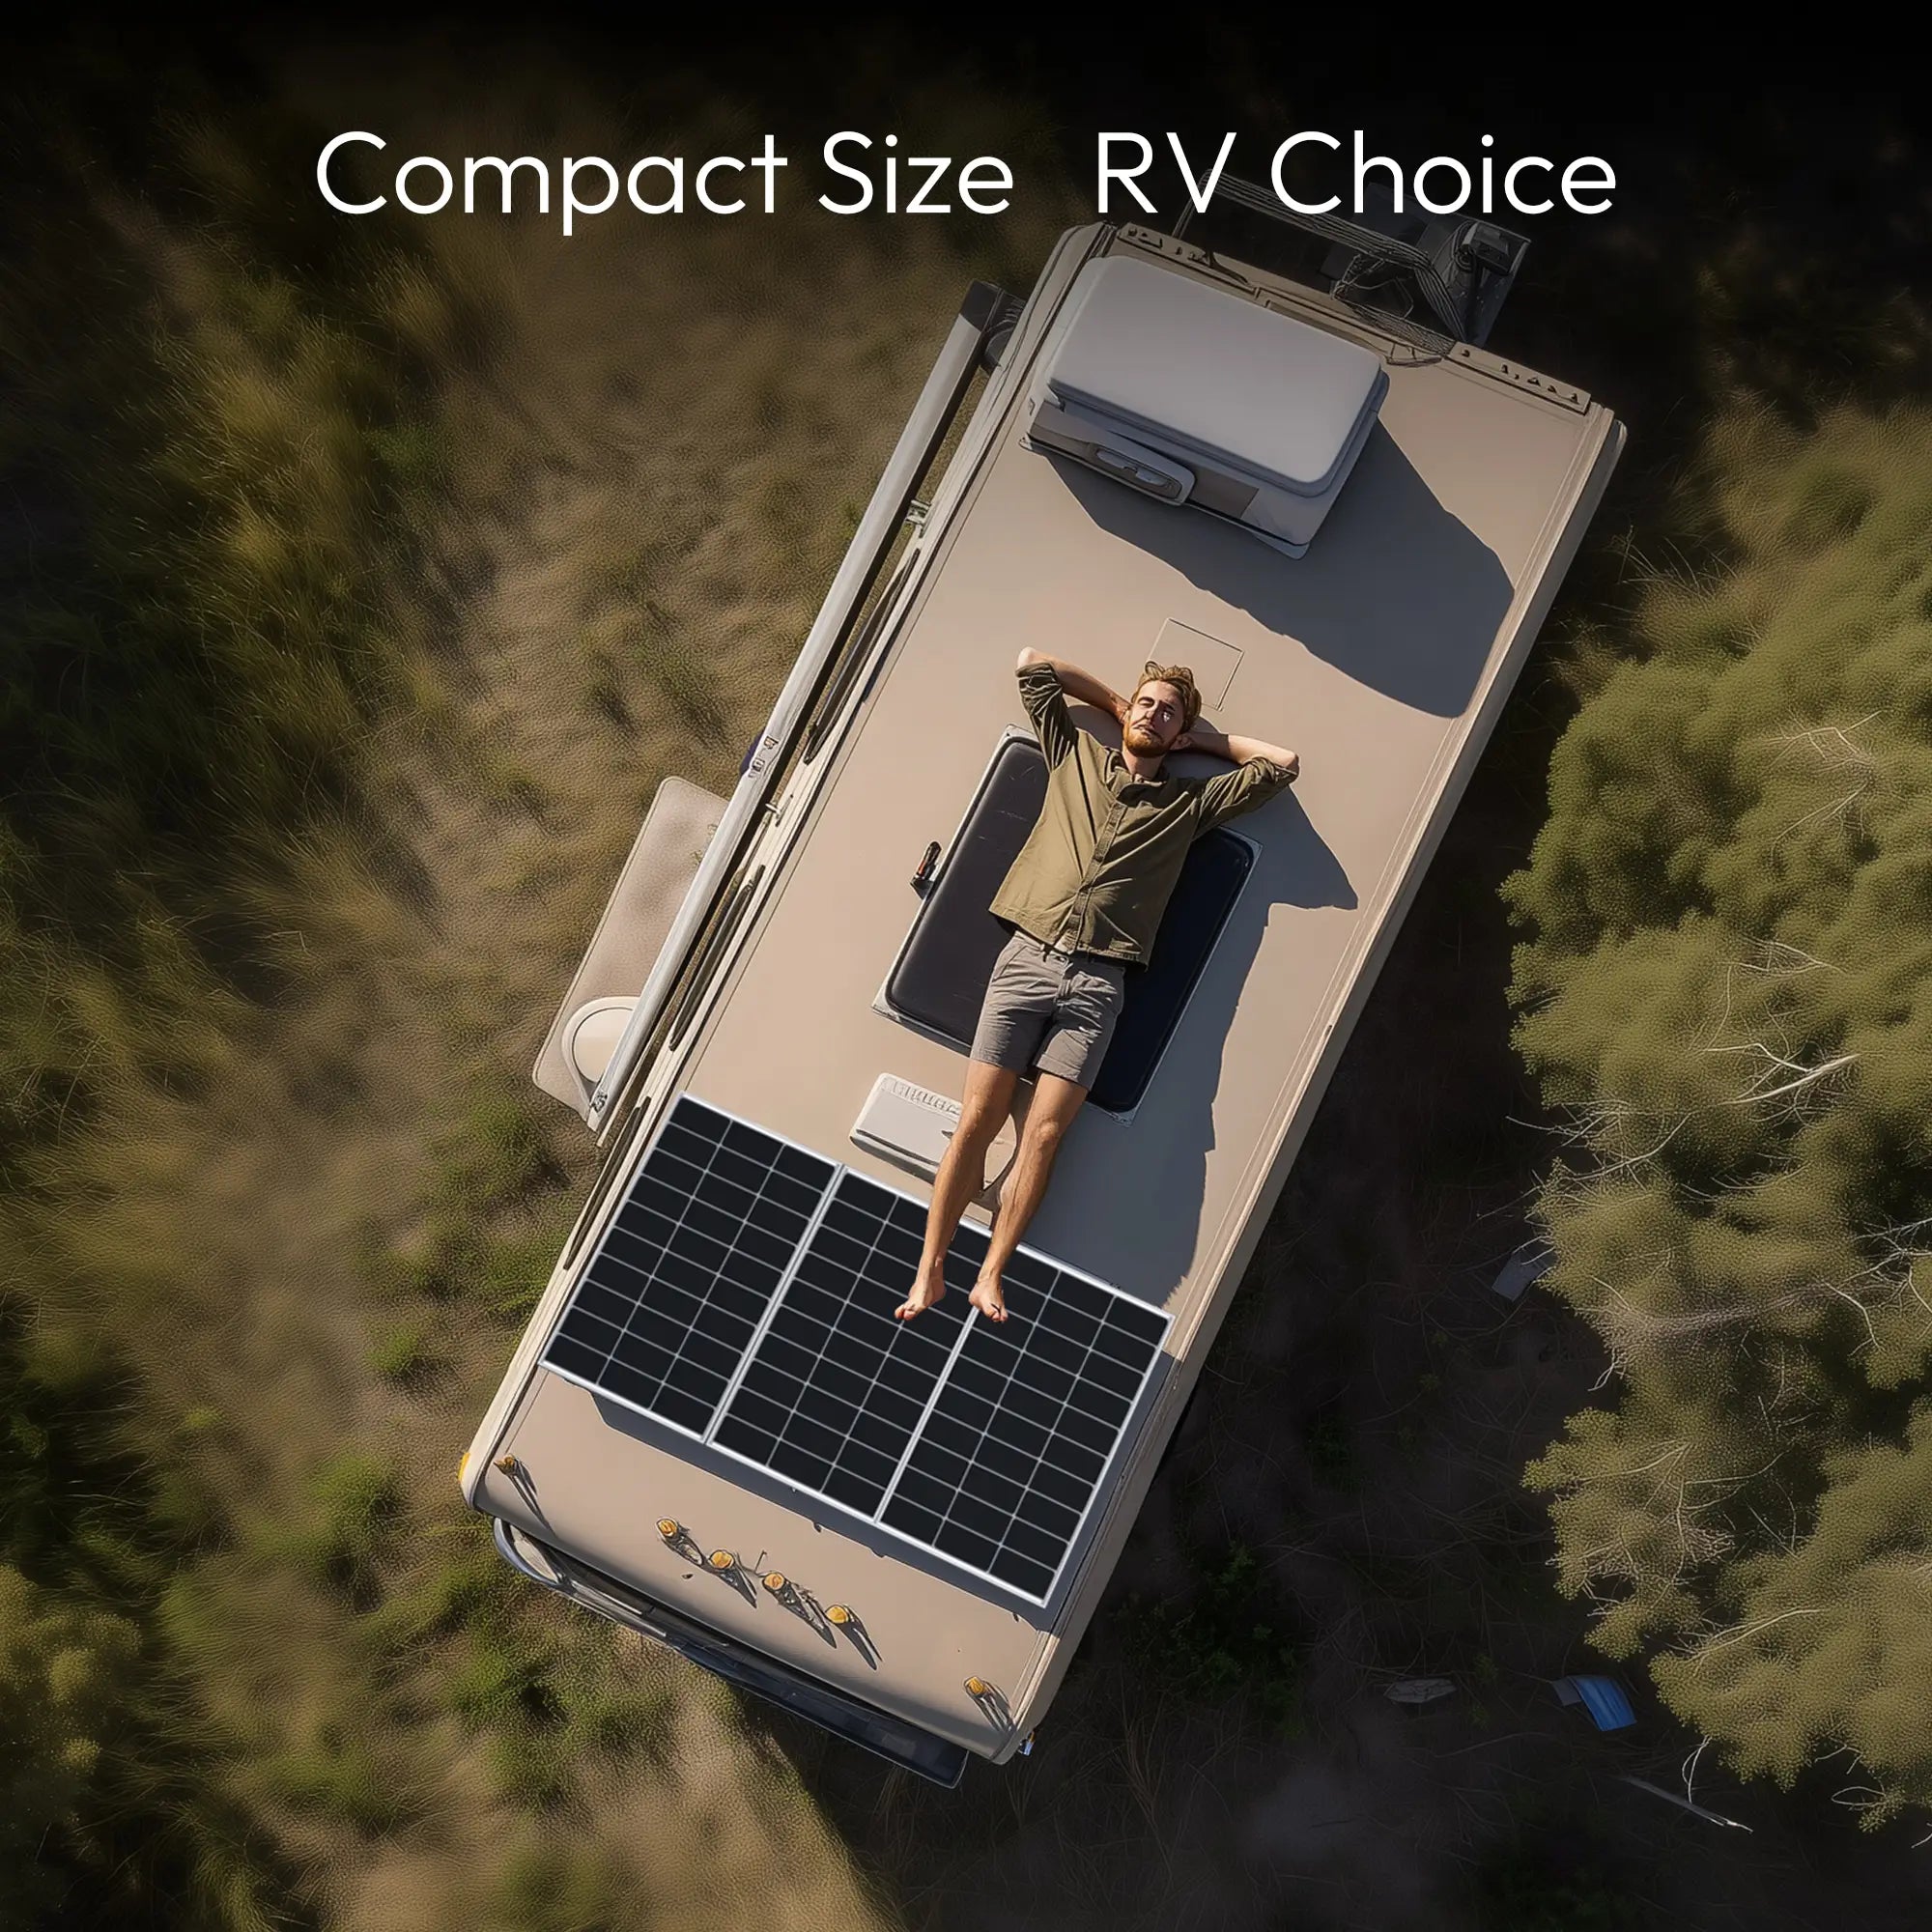
For a compact RV, van, or trailer, the JJN 200W N-type solar panel is a convenient size because it is large enough to be useful but still manageable for a first-time installation.
Step 1 — Choose the Right Mounting Location
The roof area should be:
- Strong enough to support the panel
- Clear of shade as much as possible
- Easy to access for maintenance
- Safe for cable routing
A good mounting location improves output and reduces future problems.
Step 2 — Decide on the Mounting Method
The mounting style should fit the vehicle and the way it is used.
Fixed roof mounting
Best for users who drive often and want a low-profile setup.
Tilt-style mounting
Useful for parked camping situations when the user wants to improve the sun angle.
Why this matters
A stable mounting choice helps the panel remain secure during travel and keeps the system safe in changing weather conditions.
Step 3 — Plan the Wiring Path
Wiring should be short, protected, and easy to inspect. Avoid loose cable runs and exposed routing whenever possible.
A proper DIY system should include:
- Solar cable
- Connectors
- Fuse protection
- Waterproof roof entry
- Organized cable management
This is one of the most important parts of the install. A clean wiring path improves safety and makes future maintenance easier.
Step 4 — Connect the Controller and Battery
The controller should be matched to the panel output and battery type. The battery should be mounted in a secure, ventilated, and protected area. The system should be wired in the proper order so the solar power enters the battery safely.
Step 5 — Test Before You Travel
Once the system is installed, test it before leaving for a trip. Confirm that:
- The panel is producing power
- The controller is working
- The battery is charging
- The wiring is secure
- The connections are stable
Common DIY Mistakes to Avoid
1. Mounting the panel in a shaded spot
2. Using unsafe cable routing
3. Ignoring fuse protection
4. Installing the panel too loosely
5. Forgetting to test the system before departure
Why the JJN 200W N-type Solar Panel Works Well for DIY Buyers
DIY users often want a panel that is straightforward, practical, and easy to build around. The JJN 200W N-type solar panel is a strong choice for that kind of project because it can serve as the core of a simple RV power system or as the first step in a larger setup.
FAQ
Q1: Can beginners install solar panels?
Yes, with proper planning.
Q2: How long does installation take?
Usually 1–2 days.
Q3: Is drilling required?
In most fixed installs, yes.