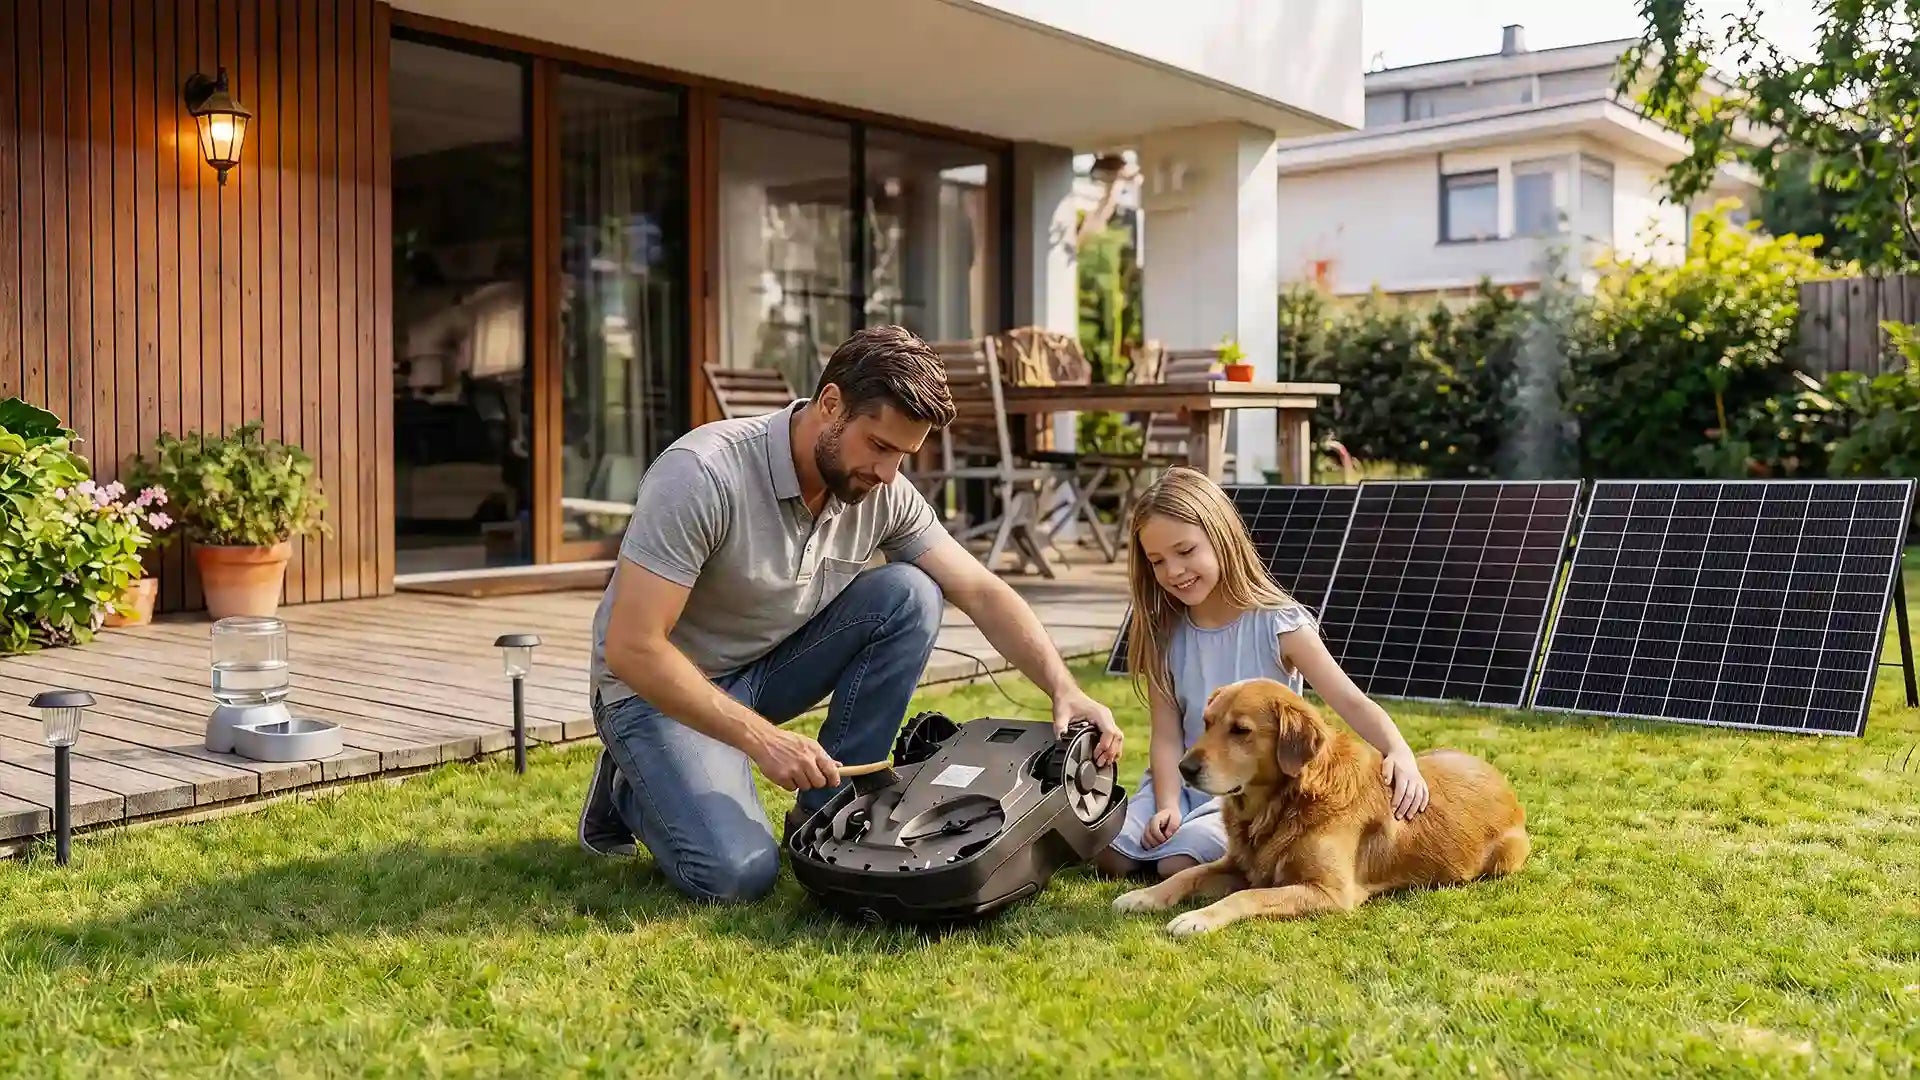
Installing a solar photovoltaic (PV) system is a technically demanding project that requires careful planning, proper tools, and strict attention to safety—especially for homeowners considering a DIY installation. While self-installation can be rewarding, success depends heavily on thorough preparation and a clear understanding of each step involved.
This guide provides a practical, technically sound overview of the solar panel installation process, offering professional insights to help you plan, install, and commission your system with confidence.

Planning Phase
Proper planning is the foundation of a safe, efficient, and code-compliant solar PV installation. The planning phase includes the following key steps:
1. Conduct a Site Assessment
Not every property is immediately ready for solar. Older homes may require electrical upgrades, roof repairs, or structural reinforcement before installation.
We strongly recommend hiring a licensed electrician or structural engineer to evaluate your site. Licensing requirements vary by state, so always verify credentials locally.
A professional site assessment typically reviews:
(1) Electrical panel capacity and wiring condition
(2) Roof age, structure, and load-bearing capability
(3) Shading analysis and optimal panel placement
(4) Suitable mounting options (roof vs. ground mount)
2. Secure Required Permits and Approvals
Before purchasing equipment, make sure all required permits and approvals are in place to avoid delays or compliance issues.
Most residential solar projects require:
(1) Local building and electrical permits
(2) Utility interconnection agreements
(3) Applications for federal, state, or local incentives (such as the Federal Investment Tax Credit)
Many experienced solar installers can handle permitting on your behalf. If you’re managing permits yourself, expect processing times to vary and follow up regularly.
3. Select and Purchase System Components
System design depends on whether your setup is grid-tied, off-grid, or hybrid. Core components typically include:
Solar panels: monocrystalline, polycrystalline, or thin-film
Inverter(s): string inverter, microinverters, or hybrid inverter
Mounting system: roof-mounted or ground-mounted racking
Energy storage (optional): batteries and charge controller
Electrical hardware: wiring, conduit, combiner boxes, disconnects, and breakers
When choosing panels and inverters, consider:
(1) Efficiency ratings
(2) Temperature coefficients
(3) Shading conditions
(4) Future system expansion
Specialized applications such as RV, marine, or off-grid systems may require additional components like MPPT charge controllers, battery isolators, and shore power connections.
4. Create a Wiring Diagram
A well-planned wiring diagram reduces installation errors and simplifies troubleshooting.
Series vs. Parallel Wiring:
(1) Series wiring: increases voltage; best for unshaded arrays and string inverters
(2) Parallel wiring: increases current; better for partial shading but requires larger wire gauges and additional fusing
Common System Wiring Paths:
(1) Grid-tied (string inverter):
PV strings → junction box → inverter → AC disconnect → main service panel
(2) Microinverter system:
Panels → microinverters → junction box → main service panel
(3) Off-grid system:
PV array → combiner box → charge controller → battery bank → inverter → load center
5. Follow Safety Protocols
DIY solar installation involves electrical, structural, and fall hazards. Always prioritize safety.
Personal Protective Equipment (PPE):
(1) Insulated gloves
(2) Safety glasses
(3) Long sleeves and non-conductive footwear
(4) Fall protection harness for rooftop work
Electrical Safety:
(1) De-energize all circuits before making connections
(2) Remove metal jewelry and accessories
Structural Safety:
(1) Use roof anchors and fall arrest systems
(2) Avoid working during rain, wind, or extreme heat
Panel Handling:
(1) Solar panels typically weigh around 40 lbs
(2) Use team lifting or mechanical hoists
(3) Lift with your legs, not your back

Installation Phase
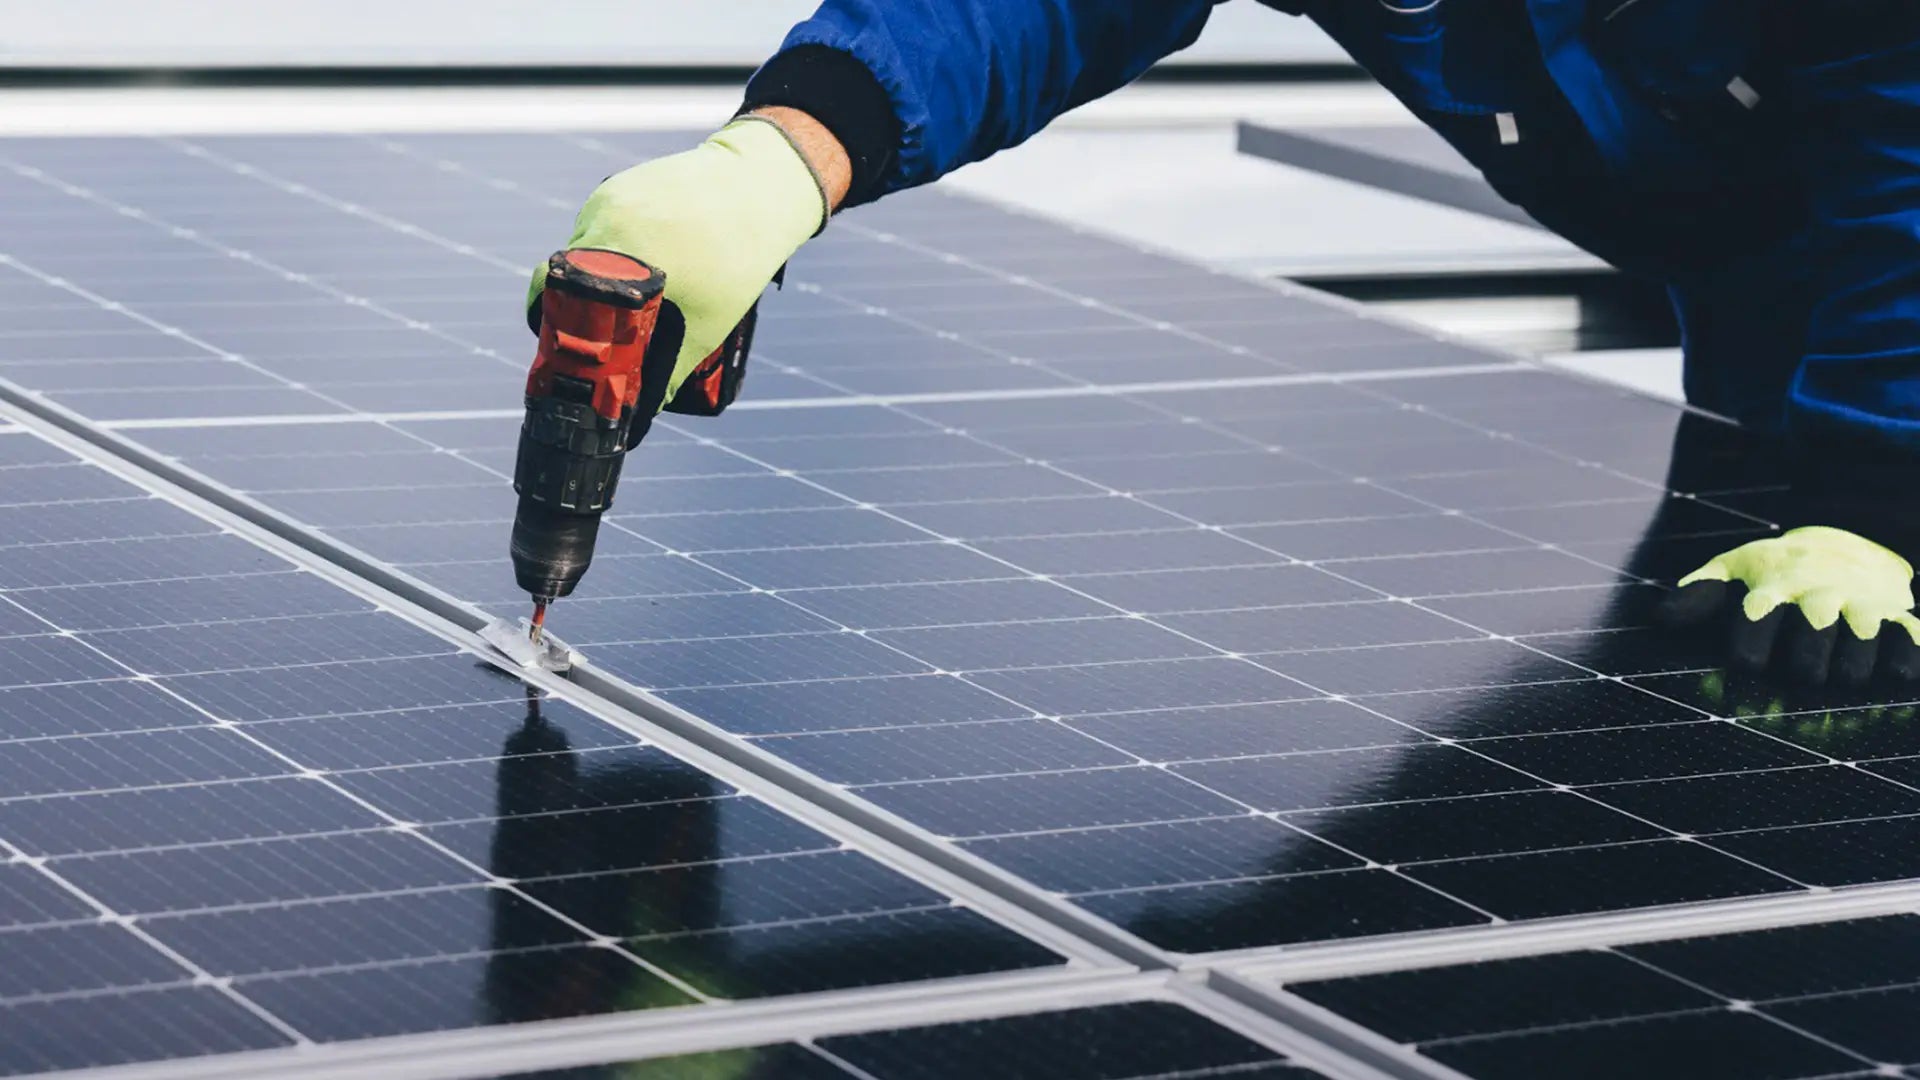
1. Install the Mounting System
The racking system must be properly aligned, securely anchored, and installed according to manufacturer specifications.
Rooftop Mounting:
(1) Locate rafters using a stud finder
(2) Install flashings and L-feet based on rail layout
(3) Roof-specific considerations:
① Asphalt shingles: lift shingles, seal flashings, and re-nail
② Metal roofs: use clamps designed for standing seam or corrugated panels
③ Tile roofs: use tile hooks or replacement flashing tiles
④ Flat roofs: ballasted systems may avoid penetrations but require ballast calculations
Ground Mounting:
(1) Set posts in concrete footings below the frost line
(2) Confirm zoning, soil conditions, and setback requirements
(3) Ensure rails are level and aligned with panel mounting holes
2. Mount the Solar Panels
Lift panels using a ladder hoist or mechanical lift. Secure panels to rails using the provided clamps or bolts, following the racking manufacturer’s torque specifications.
3. Complete Electrical Wiring
Install wiring according to your approved wiring diagram:
(1) Use conduit and weather-rated junction boxes outdoors
(2) Size conductors correctly and ensure proper grounding
(3) Follow National Electrical Code (NEC) requirements
(4) Secure cables to prevent strain or abrasion
4. Install Inverter and Battery System
Inverter Installation:
(1) String inverters should be mounted near the main service panel
(2) Microinverters are installed at each panel
(3) Ensure adequate ventilation and clearances
Battery Installation (if applicable):
(1) Install batteries in a cool, dry, well-ventilated space
(2) Use equal-length cables for balanced charging
(3) Install fused disconnects between major components
Extreme caution is required when working with battery systems—short circuits can cause serious damage or injury.
5. Connect System Components
(1) String inverter systems: connect PV inputs from the junction box
(2) Microinverter systems: connect panel leads and daisy-chain AC outputs
(3) Battery systems: connect PV → charge controller → batteries → inverter
6. Commissioning and Grid Interconnection
(1) Schedule inspections with local building and electrical authorities
(2) Obtain Permission to Operate (PTO) from your utility provider
(3) Perform final system checks, including voltage, current, grounding, and insulation resistance

Final Notes
This guide provides a technical overview for homeowners and professionals planning a solar PV installation. While DIY installation is possible, working with licensed electricians, structural engineers, and solar professionals is strongly recommended to ensure safety, performance, and long-term reliability.
A properly installed solar system can deliver clean, dependable energy for decades—when done right from the start.